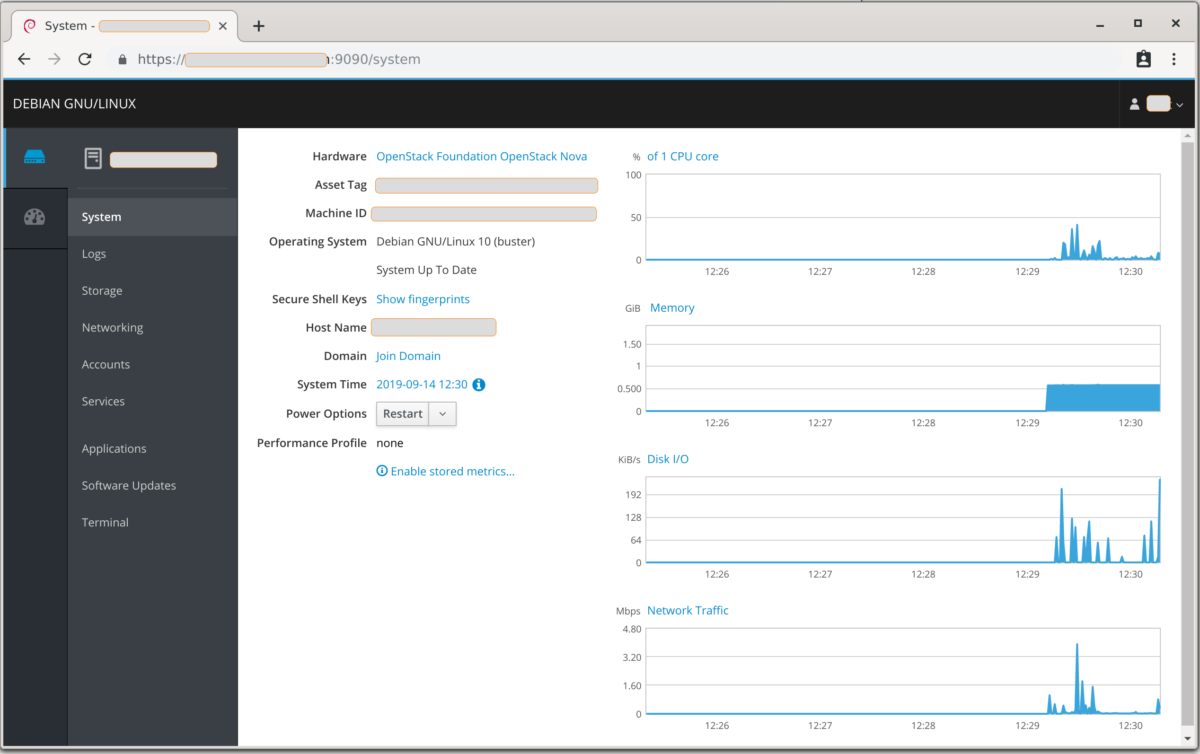
Cockpit is a lightweight graphical server administration tool. Simple to install, it provides you with an at a glance overview of one or more servers, and allows you to carry out administration tasks, log inspections and more.
Originally from the RHEL stable, it is a high quality Open Source product that is now available in most major Linux distributions.
Scenario
Cockpit is now included in most major distributions, although I shall be using Debian Buster for this tutorial. Because it uses a non-standard port (9090), Cockpit can be installed on any server without fear of it interfering with any other software; unless of course you have moved some other daemon to this port number!
In this tutorial we shall be installing and configuring Cockpit on a Debian Buster server which already has NGINX configured, and certificates installed from Letsencrypt.org as shown in this post.
Installation
Using your distribution’s package manager, install cockpit – and probably a large number of dependencies. As apt proceeds, keys will automatically be generated for the host.
root@host:~# apt-get install cockpit
 Reading package lists… Done
 Building dependency tree
 Reading state information… Done
 The following additional packages will be installed:
   ....
 Suggested packages:
   ....
 The following NEW packages will be installed:
   ....
 0 upgraded, 87 newly installed, 0 to remove and 0 not upgraded.
 Need to get 21.1 MB of archives.
 After this operation, 73.7 MB of additional disk space will be used.
 Do you want to continue? [Y/n]
Remember to open port 9090 in your firewall before trying to access Cockpit.
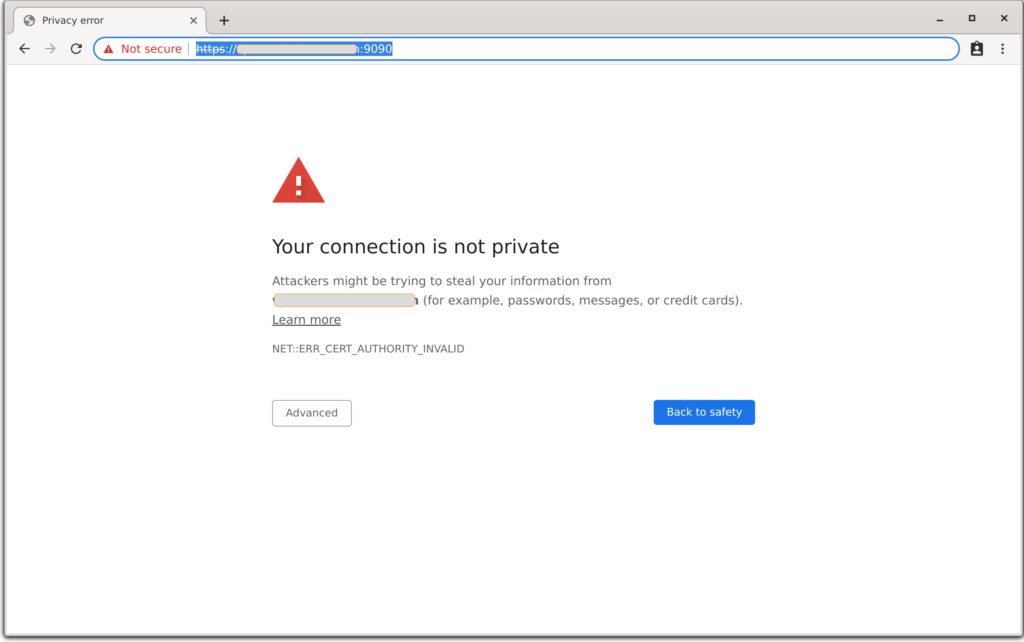
Because of the unsigned keys generated, your browser will show you some privacy errors which you could proceed through, but better to use the signed letsencrypt key.

Create a certificate file using the paths given in the other tutorial as follows, then restart Cokcpit to apply.
root@host:~# cat /etc/letsencrypt/live/www.example.net/fullchain.pem /etc/letsencrypt/live/www.example.net/privkey.pem > /etc/cockpit/ws-certs/1-www.example.net.cert

root@host:~# service cockpit stop && service cockpit start
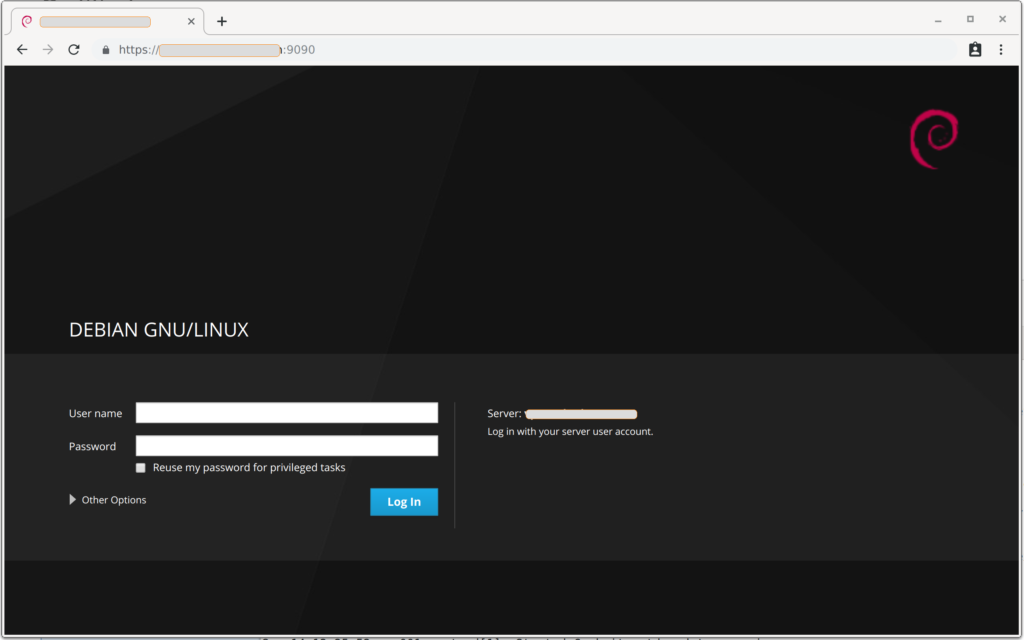
Your browser should now be complaint free.

Login as a system user, and explore what Cockpit has to offer.

Next Steps
In the next part of the tutorial, I shall show how you can add additional servers to the same web interface. In the final part we shall look at configuring Cockpit behind a reverse proxy.
